Another guide to scanning film

Nobody asked, but I'll say it anyway. And everyone has their own method, too, and frankly no method can be considered straight up bad*, as long as it produces results you're happy with.
Although for everyone who starts dabbling in scanning film - it's a journey. Consider this a documentation of it, to what conclusions, tools, equipment I have come to.
* With some exceptions: flatbeds and that particular kind of cheap scanners are bad, period.
My requirements
They have changed over time, once I realized what I want to do.
First of all, must be cheaper than lab scans. They're frankly ridiculously priced, so that's not difficult to get through it.
Secondly, quality. Color rendition and sharpness are both important, although working with B&W you can get by with subpar color rendition. The more quality you have, the more flexible you are with later editing.
Thirdly, it must be relatively quick. I don't mind babying the whole process, but it shouldn't take too long.
And lastly, absolute minimum of extra equipment. Shoebox apartments are a concern.
What does it all mean? Well, flatbeds are slow as mollases, quality is awful, and they're massive. There's Negative Supply holders, they're rather expensive, so they don't fulfill the first point. Using a copy stand may be more convenient, but it's a huge thing that's laying around unused until it's time for scanning.
Guess where this takes me, then.
My fight, or the history of it
Feel free to skip this section if you're here for my end results: Current setup. However you may want to see how I arrived at what I've been using, or maybe you're currently at a step
It wasn't soon after I shot my first roll of 2018 that I learned that a scan of a roll costs 15-20 PLN in a lab. That was the moment when I realized if I want to survive in this world, I will need to expand my modern survival skillset (consisting mostly of e.g. internet research, cooking, cleaning, torrenting, minor electrical repairs) by self scanning film.
And a quick research yielded two things:
- film scanners were expensive;
- but flatbeds were a cheaper thing and they could also scan documents!
I also learned that such a flatbed scanner must be special - that is, have a backlight. Film is seen from behind a light, and then scanned with the normal light disabled. Makes sense.
A quick look through Allegro and I have got a HP G4010 for 115 PLN. Six to eight scans and it pays for itself! I didn't think about quality much, I was happy to see something. Problems emerged rather quickly - HP Scan sucked. VueScan popped up as an alternative, albeit a costly one. Thankfully, it was available through Russian finder channels.
The time it took to go through a roll was also rather significant. At highest resolutions it took forever. Hours, sometimes. VueScan allowed for multi-exposure and multiple scan passes, which I used to get the maximum detail out. Images were still quite soft. Actually, you can see some samples of my oldest rolls on my Flickr.
I got a bit deeper into it and ran into another issue - I couldn't scan 120 film I shot with Start 66 - a sweet simple TLR - some experiments with using a phone with backlight never gave me good results. At that time I was borrowing an Epson 4990 from a friend.
With 35mm it wasn't that visible, but with medium format I had problems with film not being flat and showing Newton rings.
At that time I also learned about an amazing little German website with film scanner reviews - filmscanner.info. That told me my scanner was probably getting 1 megapixel of information from the negative, which explained why it looks fine on the screen but at closer inspection it completely falls apart.
So this review-driven purchasing made me look through what's somewhat recommended there and find a super cheap PacificImage 3650U (American model; also known in Europe as Reflecta CrystalScan 3600, identical to 7200) on eBay. I just had to source a 230V compatible 12V power supply, as it crossed the ocean to come to me. Not that difficult, I just had a spare.
Quality blew me away completely. It's incredibly sharp. No glass, no Newton rings. However, it's still slow - takes 3 minutes per frame, but engagement is minimal - just move the frame to the next, press the button, let VueScan do the rest. Oh yeah, again. The original drivers from 2003 worked, but VueScan was still better.
The only problem was vertical stripes on thin negatives. That's a bit of a problem, as sometimes exposures don't come out perfectly. And still, no 120 support.
In the meanwhile I procured a Fujifilm X-T20, and I got a 7artisans 60mm f2.8 macro lens. I started experimenting with digital scanning. I remember using an RGB light from a friend as backlight. Problem was, the LEDs were big and sparse, meaning it had to be diffused. The film holder was a film holder from an Opemus 6 enlarger. The entire setup was rather wonky, given the diffuser I used had a texture too, meaning there had to be significant distance between film, diffuser, and light source.
Not too soon after I learned about two relatively cheap film holders - Pixl-latr and Essential Film Holder (EFH). The first was cheaper, but the diffuser was very close to the film, making me doubt its capabilities; opinions on the net were also somewhat mixed.
EFH had a better reputation, so I paid 90 quid for few pieces of laser-cut acrylic. That's insane. But if it works, it will beat my setup by a mile. To add to that, I got a dedicated light - a Viltrox L116T. High CRI, denser LEDs requiring less diffusion, smells great. And big enough to cover EFH. In theory, even 4x5 should fit...
It was compact, it was working, although oftentimes, especially for medium format, when you slide the film for the first time, it will slip out or otherwise block itself from passing through the channel dedicated for it.
The other issue is reflections. The sides of the channel are rather shiny, reflecting on the already reflective film, creating a vignette on the sides of sorts, requiring fixing in Lightroom in almost every case. Sanding them down did help a little, but for 90 quid I wouldn't expect to have to do that.
However, even with the issues, the setup was good and small enough for me to bring with me to Hong Kong. After all, a tripod, camera, macro lens, EFH and the light was all I needed. That fit the last requirement quite nicely - barely any overhead when moving to another country.
Over there however I learned that there's a special, China-only holder, the one I mentioned in my previous post. With the light included, and frames for 35mm, 6x6, 6x9, and 4x5. The light is diffused. You really needn't anything else. I ordered one, with the thought in worst case I'll sell it off to another film photographer...
...but I promptly sold EFH. By default, less reflections; film NEVER slips out of the channel; setup isn't as wonky as it was with the Viltrox light, it all made sense. And cost just a tad bit more than half the cost of EFH itself - about 400 CNY. Which brings me to the current setup.
Current setup
The equipment!
What you'll need is:
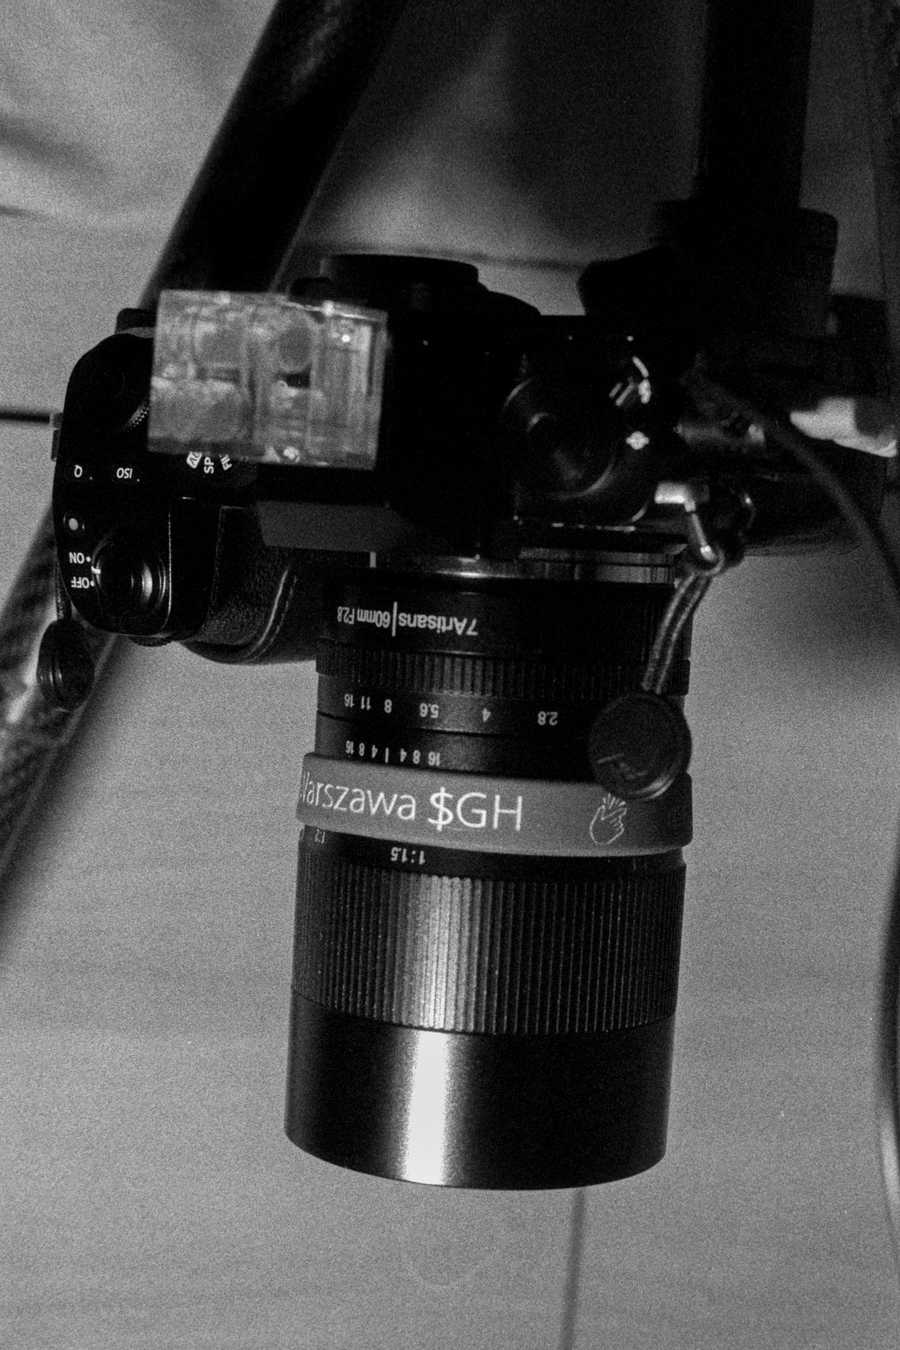
- a digital camera with a macro lens (here: Fujifilm X-S10 + 7artisan 60mm f2.8),
- a tripod with the center column that can be put upside down (here: Fotopro X-Aircross 2),
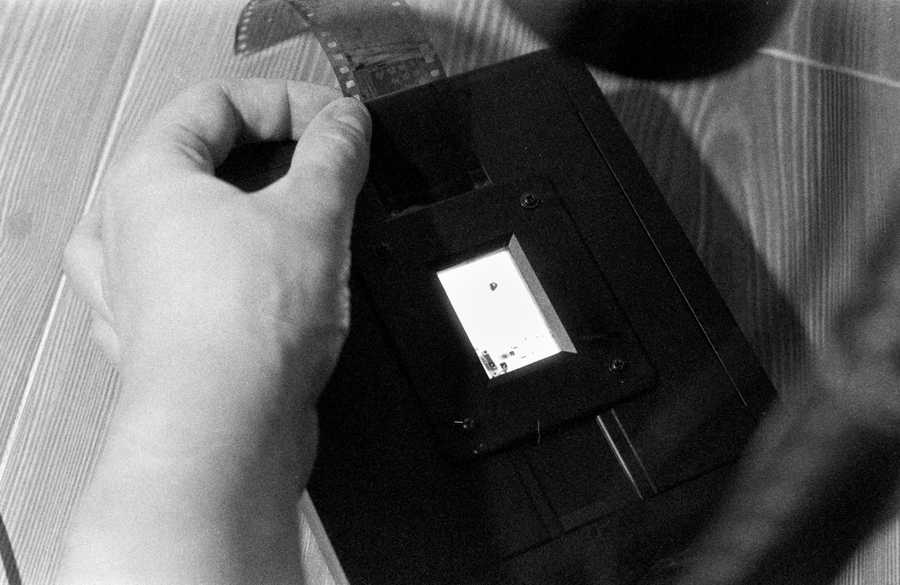
- your film holder of choice (here: the Chinese holder from TaoBao)
Optionally, and recommended:
- USB tethering cable - saves time on copying data from SD card, and lets you verify sharpness on a bigger screen
- Remote release cable - so you don't touch the camera, reducing vibrations
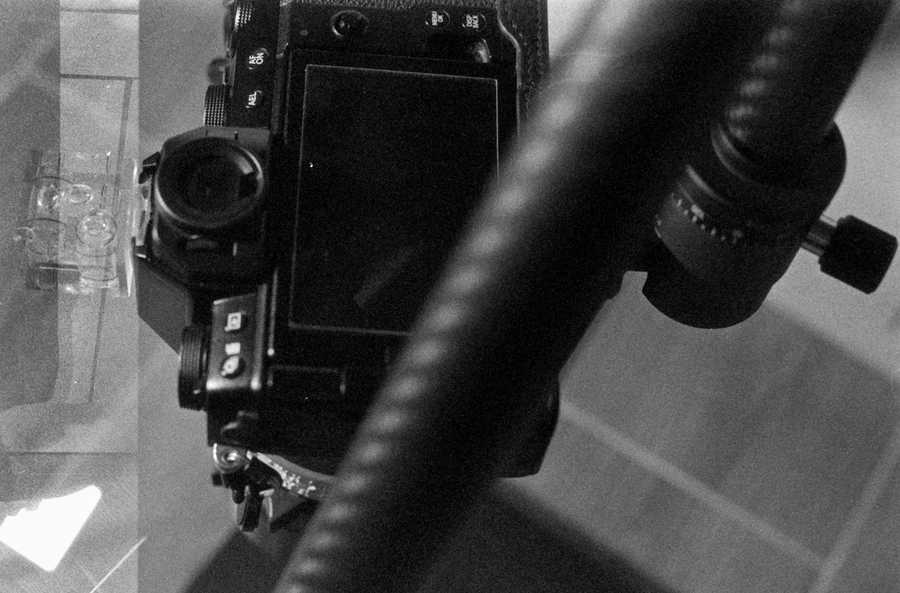
- a 3D bubble level on the hotshoe, to ensure the camera is parallel to the ground.
Setting up
Start with putting the center column upside-down. Extend maybe one section of the legs, at least in my case. Attach the camera to the head.
On the camera itself, set lowest ISO, electronic shutter (why bother wasting the mechanical one?), manual focus, aperture priority, and set the lens to the biggest aperture (2.8 in my case).
I usually start with making sure the camera is level with the aforementioned bubble level. There's however another trick you can use - with a mirror. A tiny mirror that you would put in the spot where the film is. It's a simple task - make sure the lens sees itself, and it's perfectly centered as well.
For me, it's mostly playing with the ball head on the tripod, maybe with a little adjustments on one of the legs as well - my floor may be slightly uneven.
It's a very important step for a simple reason - at macro distances, the depth of field is very, very thin. If the camera is on a different axis than the film, you may end up with parts of the film sharp, and other parts slightly out of focus.
Now, I would put the holder below the camera, with some film in it. With some image on it, right side up, hopefully sharp. We'll be setting up focus.
Anyone who's used an enlarger before knows the little dance well - you need to set both the height, and the focus; and if you change one, the other must change as well. Anyway, your job is to get as much of the negative on the camera's screen as you can, with as little of the holder itself, and all in focus. The holder may have to be moved as well.
As a little cheat, remember that APS-C crop factor is 1.5x? So on the Fuji camera, if I set the lens to about 1:1.5 (in practice a bit less, for some leeway), then I can move the column until focus peaking shows me perfect focus.
At the end of it, on most 35mm film you should be able to see the grain, even at f2.8.
You can mark the perfect focus spot on the center column, too.
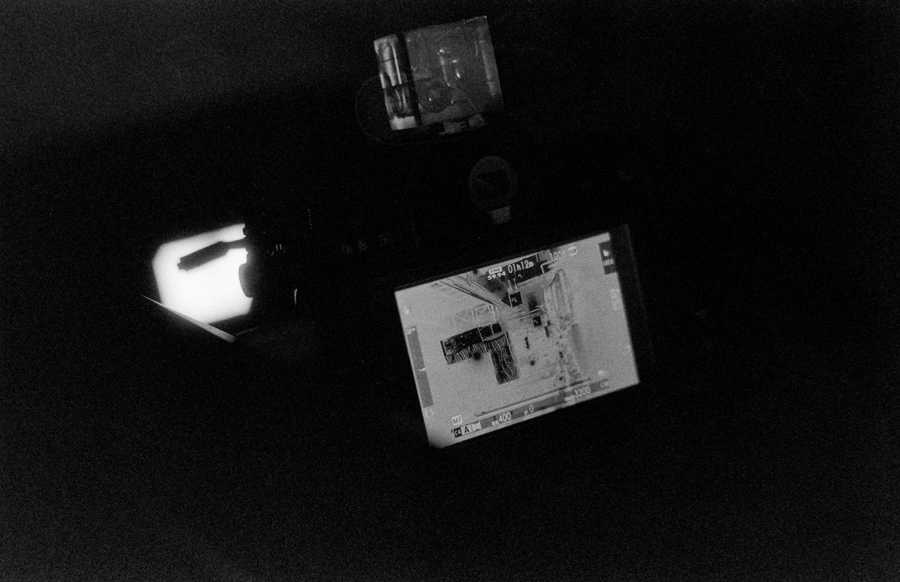
If you have any lights or bright windows in the room you're doing the scans in, you may want to turn them off or cover them. That is because the film is reflective, and you would see the reflected light or any other thing on the final image, or decreasing contrast.
Scanning
The setup is the hardest and most time-consuming part in my experience. The actual scanning part is a breeze in comparison. So if it's dark because you turned off all the lights, don't be afraid, it will be done soon.
Now you can switch to your working aperture - something smaller maximum sharpness, but not too small to avoid diffraction. You don't need much DoF at all, assuming the film is flat. I used F5.6 on X-T20, F8 on X-S10 - the corners are slightly sharper at F8, but dust embedded inside X-T20's sensor stack started to show.
Wait until vibrations are gone, make sure the picture is in the holder, wholly visible on the screen, and press the [remote] shutter button. If you don't have a remote, use a self-timer.
After first exposure is done, if you're using a tethering cable, you may want to go and check the sharpness on PC. If not, do it on the camera, zoom in all the way, and judge for yourself. Also check if maybe too much of the holder is visible in the shot, also happens. Make any adjustments necessary.
If you're sure it's all good, shoot; advance the film to the next frame, shoot again. Another strip. If the holder moves, just put it back in place. Repeat until you're done.
If you notice any dust on the negative or the diffuser, a rocket blower or a tiny brush will be helpful to get rid of it. If there's water marks on the negative, well, you can wash it with some isopropyl and a tissue. Or you can just fix it in post.
Anyway, that shouldn't take too long.
Really, that's it, from the scanning point of view. You can pack up the gear now.
A word about bigger formats
The guide focuses on negatives... of 35mm size. When scanning bigger formats you should ask yourself, what do you want to achieve?
Most of the instructions apply there as well.
Of course, focus and center column height will change, but how much? Do you want to stitch the image afterwards, to make use of the additional quality, or do you want to just take one snap for preview?
Stitching is simple enough (use perspective stitching in Lightroom, and some other in Capture One), frankly, and that's what I do - otherwise why do I bother shooting medium or large format?
So instead of advancing the whole frame, I advance it a fair bit, so there's overlap between the images for the panorama algorithm to find. The sensor is filled with image, on 120 from "top" to "bottom". 6x4.5 and 6x6 require two images for a full stitch; for 4x5 I use 6. I usually also stitch them straight in Capture One before processing.
Software side of things
Scanning is done, time for processing.
Again, there's many methods for doing so. It really depends what software you use - Lightroom, Darktable, Photoshop, Capture One etc.
Manually, for one, is simple: for B&W you can just flip the tone curve and you're left with a positive. For color negatives, you need to use the film base for white balance (or actual white), in addition to flipping the curve.
There's also automated software that will do it for you. Somewhat popular is "Negative Lab Pro", a plug-in for Lightroom, which is barely crackable and costs 99 dollars otherwise. What the fuck. I tried it, and frankly the results were alright, but because of the magical operations it does with the image, editing the image in Lightroom doesn't make sense anymore - increasing contrast does random things and I don't know what's going on.
I do have to admit that because of it, it saves disk space. All you need is the RAW and after all the transformations, you can export a JPEG.
I've been using "Grain2Pixel" - despite its awful name, it's a neat little (free!) plug-in for Photoshop that does batch conversions from RAW files. With one caveat - for B&W rolls I also add a macro called "bwize" which changes the image properties to black and white image.
That's because G2P outputs TIFFs, which do have great quality, but they also can be massive. For BW you don't need red, green, blue channels - just brightness. So with that macro, any color information will be lost, and the output will be a third of the size.
After that I treat these TIFFs as if they were any digital photos and they're edited or adjusted accordingly in Lightroom afterwards, before being exported, assuming they're good enough.
And that's the other part I don't really like doing, but that marks the end of the process.
Future?
What would I change in this setup? Not much.
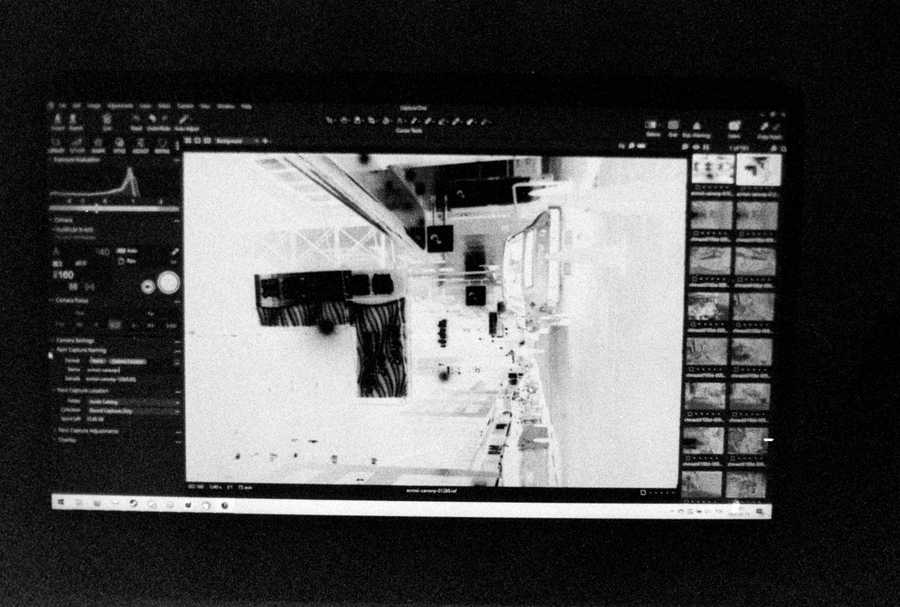
Maybe get a Laowa macro lens instead of the 7artisans. There's no automatic film advancement, but that comes at thousands of US dollars. This gets the job done well enough that I don't mind shooting the process on film to show it off here.
The TIFFs from G2P tend to be big, but I can also remove them after editing - it's unlikely I'll be going back to the images and adjusting them again. Worst case, I can rescan them later.
Either way, if you'd like me to scan your film, feel free to contact me.
The real future as of 2025
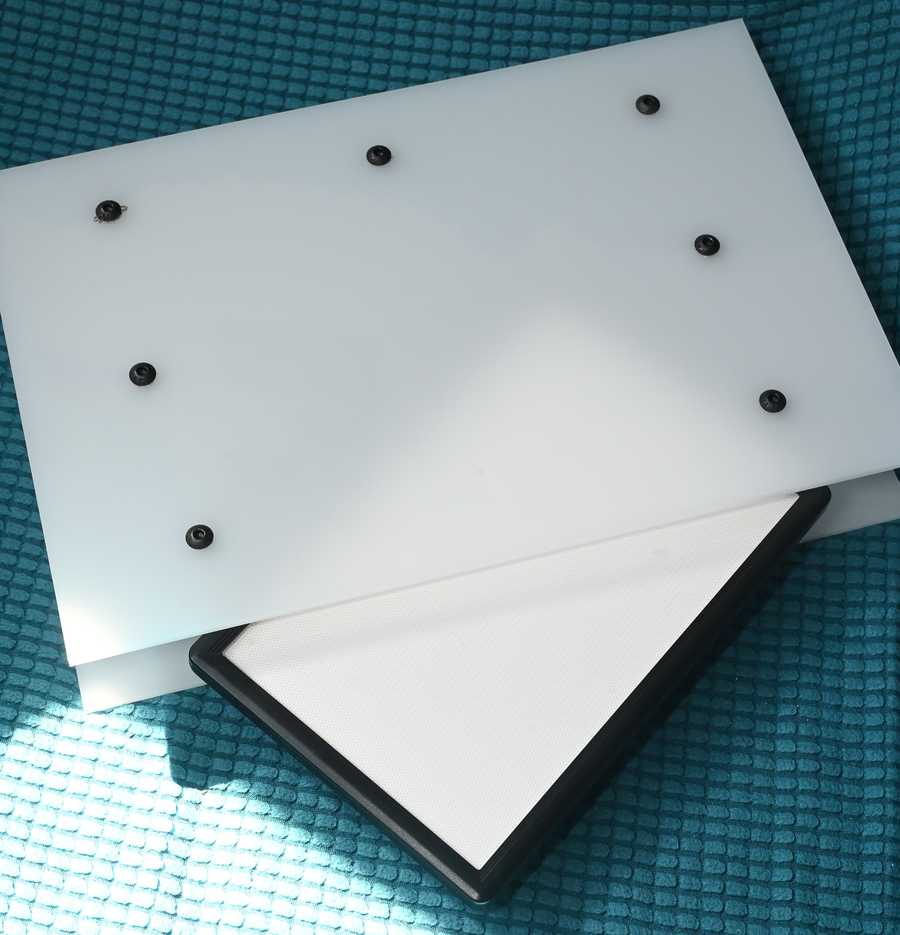
The main setup hasn't changed, mostly. Especially for 120 and 4x5. One caveat is that the included light doesn't satisfy me with regards to CRI, so I put the film holder on top of the Viltrox L116T that I got way back; I also got two sheets of acrylic with some long screws to put it in to diffuse the light. Little DIY, turned out alright.
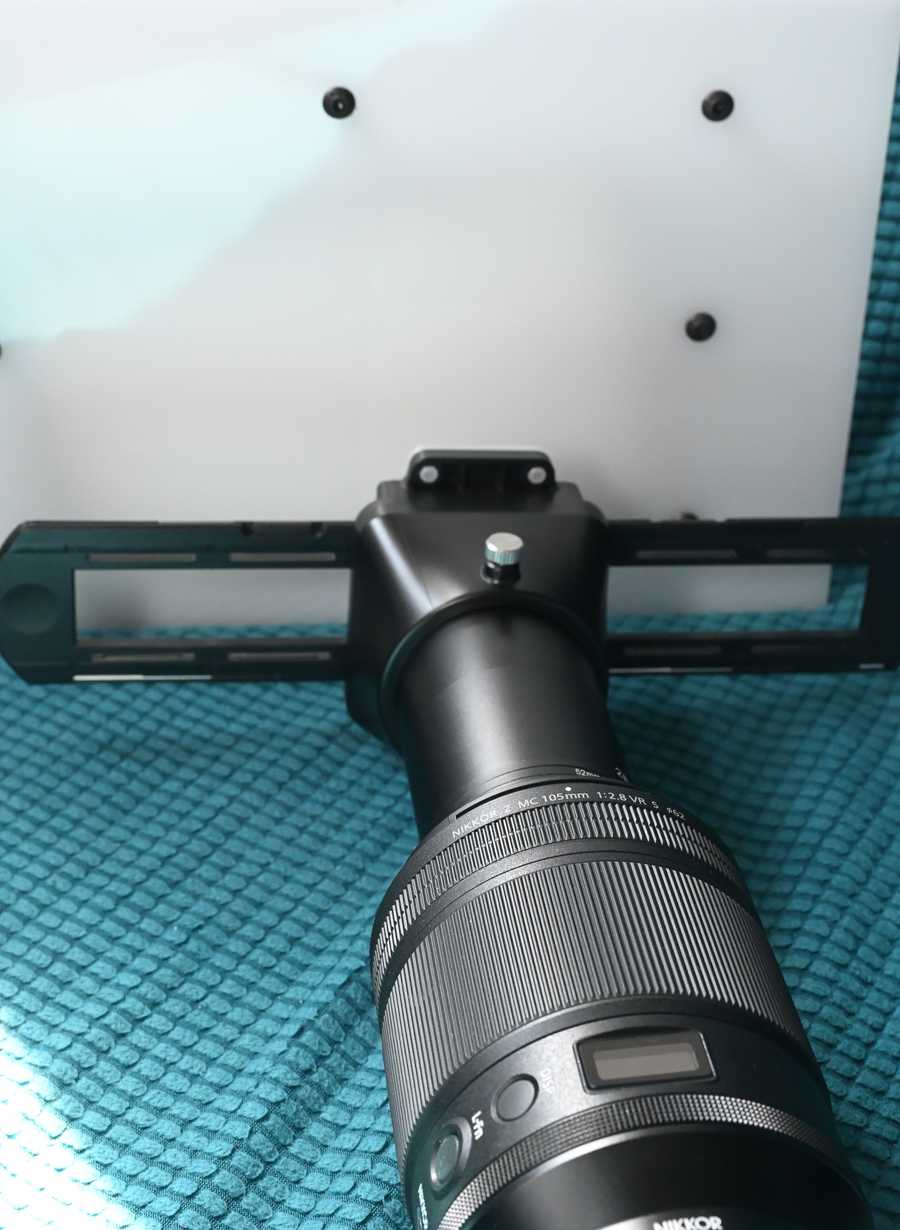
The scanning hardware also changed - I have the Nikon Zf with the absolutely stunning Nikkor 105mm macro lens. Sharpness or focusing are no problems anymore. Laowa is not the king of macro anymore.
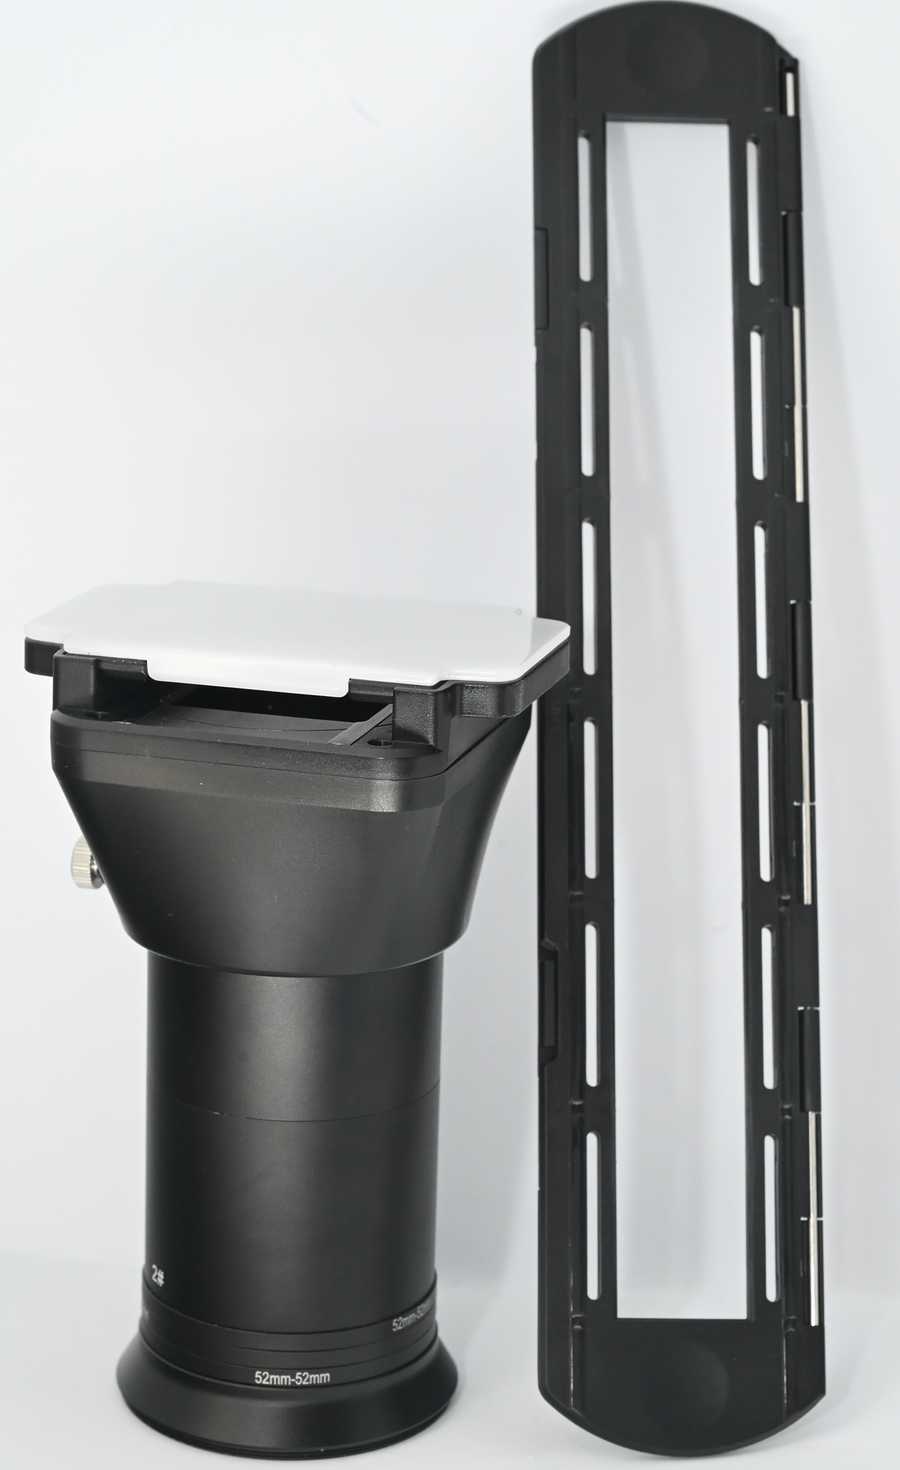
In 35mm there was one small change - I got the JJC scanning adapter. The biggest pro is that I don't have to set up a tripod and calibrate everything, just put a light behind it, easy. But even that solution required some problem solving to fully realize.
You may see the modifications I made on this pic.
First of all, the included tubes are either too long or too short, or too long (if you add an extra one). You can adjust the length a little bit, but that little bit isn't enough; it would either bring the negative too close for 1:1, or it would be too far and have a massive border around it.
I solved it by buying 52mm filter extensions rings. Imagine a UV filter but without glass; that's basically it.
There's the second issue, and that's with the film holders. They were REALLY close to getting it perfect for amateur film photographer use. You get a set of two film holders - one for mounted slides, one for negative strips. I will ignore the former, never had to use it. The latter has two main issues.
First, it's designed for strips, of 6 pictures. That means you cannot slide through the whole roll, fresh after development. Somewhere in my backlog was learning CAD enough to 3D print a replacement that could do that. I contacted the support and I got thumbs up for the idea, but it was never realized, even in the second version of the product.
The second issue is that there are straight columns, supposedly separating shots. Five of them, in fact. Too bad that it assumes the spacing between frames. Obviously that's going to interfere with panoramic images, such as taken with Widelux or Xpan; but even with my normal mechanical cameras, the spacing is rarely even, or fitting perfectly between the lines. It took me way too long to realize that these prongs are not structure supporting, so swiftly removing them with flush cutters helped things out.
So if I have a long 35mm roll, I'll bring out the full setup. If I have 35mm strips, I'll just whip out the JJC.
Have you enjoyed the post or found it useful? Consider throwing some currency using the button below or directly through Ko-fi.
If you like a photo from here enough that you'd like to have a print of, feel free to contact me by email.
This page will never have ads, sponsors or any other annoyances; I believe in the Old Internet Spirit. It does mean though that it's all shot and written in my spare time which is limited at times.

